> ## Documentation Index
> Fetch the complete documentation index at: https://docs.tryblazar.com/llms.txt
> Use this file to discover all available pages before exploring further.
# Quickstart
> Create your first research table in Blazar.
## Create your first research table
Follow these four steps to go from a blank workspace to a fully populated, cited data table.
### Step 1: Create a new table
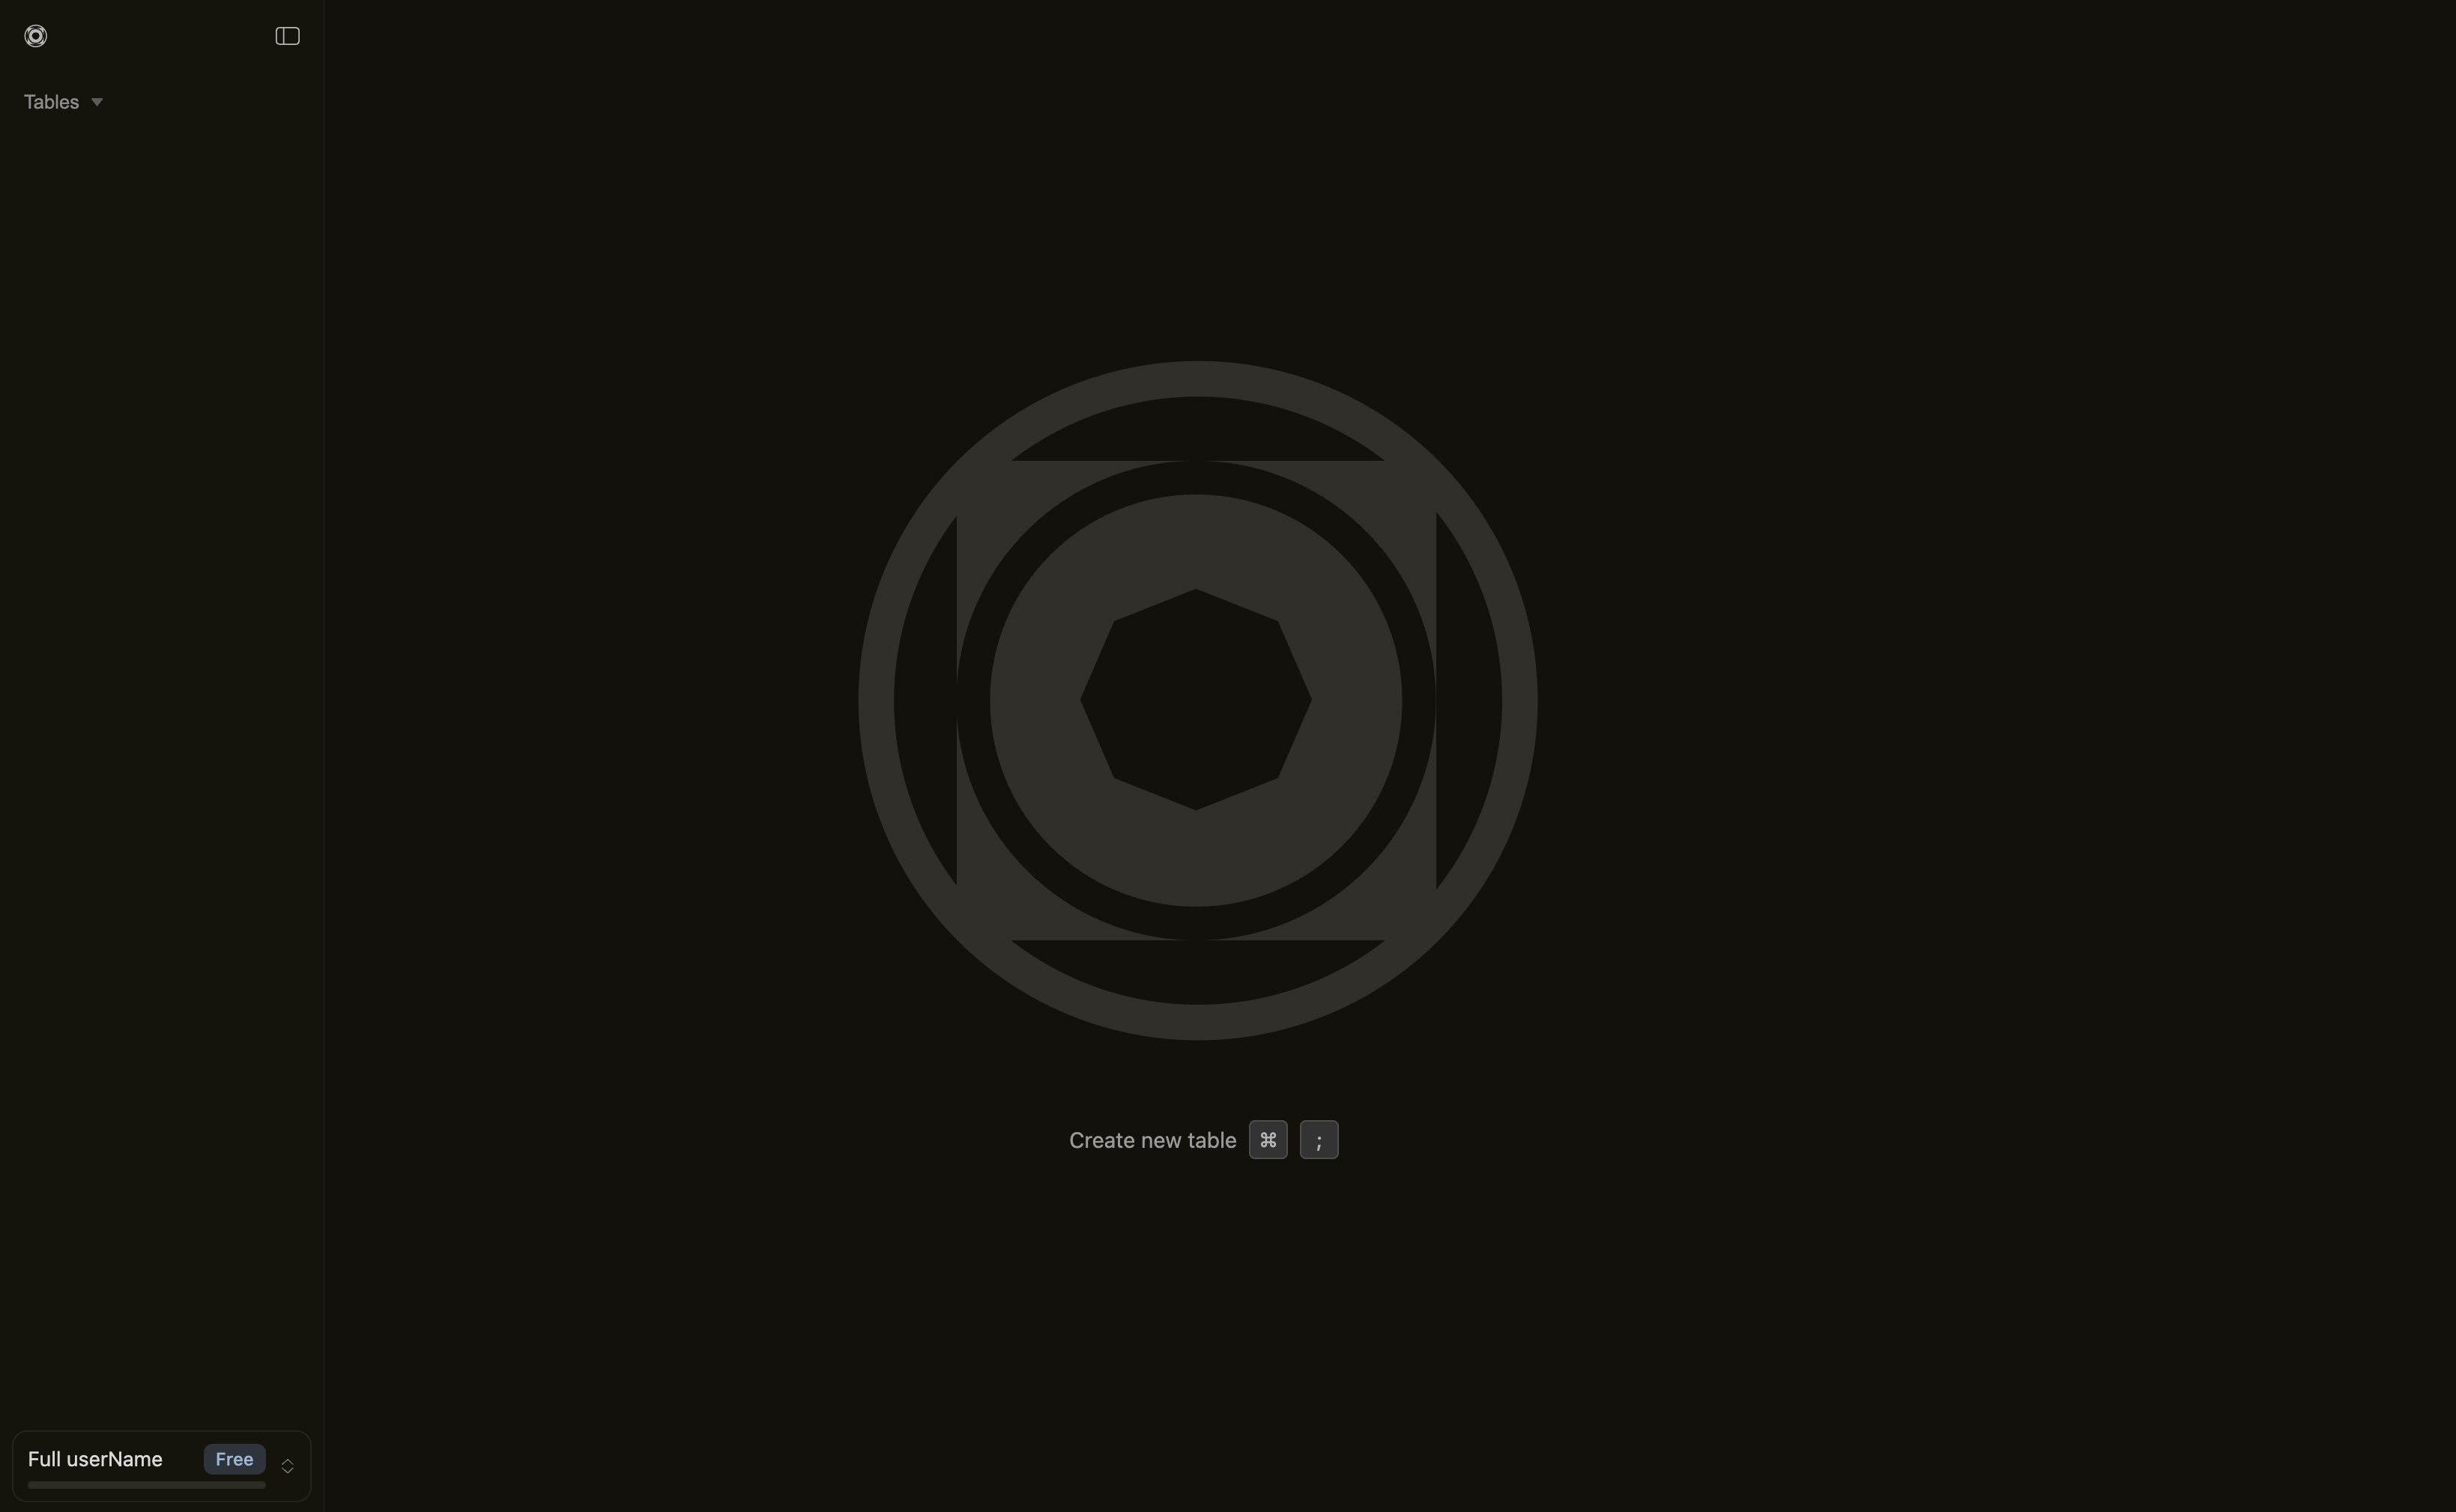
When you first open Blazar, you'll see an empty workspace. Click **Create new table** or use the keyboard shortcut:
* **Mac:** `Cmd` + `;`
* **Windows/Linux:** `Ctrl` + `;`
 ### Step 2: Name your table
After creating a table, you'll see an editable title field at the top. Click it and type a descriptive name for your research — for example, "AI SaaS Companies in Europe."
Press **Enter** to confirm the name and move to the query input.
### Step 3: Enter your query
In the input field, describe what you want to research in plain language. Be specific about the entities you want, any constraints, and the data points you need extracted.
**Example query:**
```text theme={null}
Find 10 companies in AI SaaS based in Europe.
For each company, extract:
- Website
- Headquarters location
- Key products or services
- Founded year
- Employee count
- Contact email
- LinkedIn company page
```
Press `Cmd` + `Enter` (Mac) or `Ctrl` + `Enter` (Windows/Linux) to submit your query. Blazar will interpret it, research the web, and populate your table with structured results.
The more specific your query, the better your results. See [Writing effective queries](/concepts/queries) for tips and templates.
### Step 4: Review your results
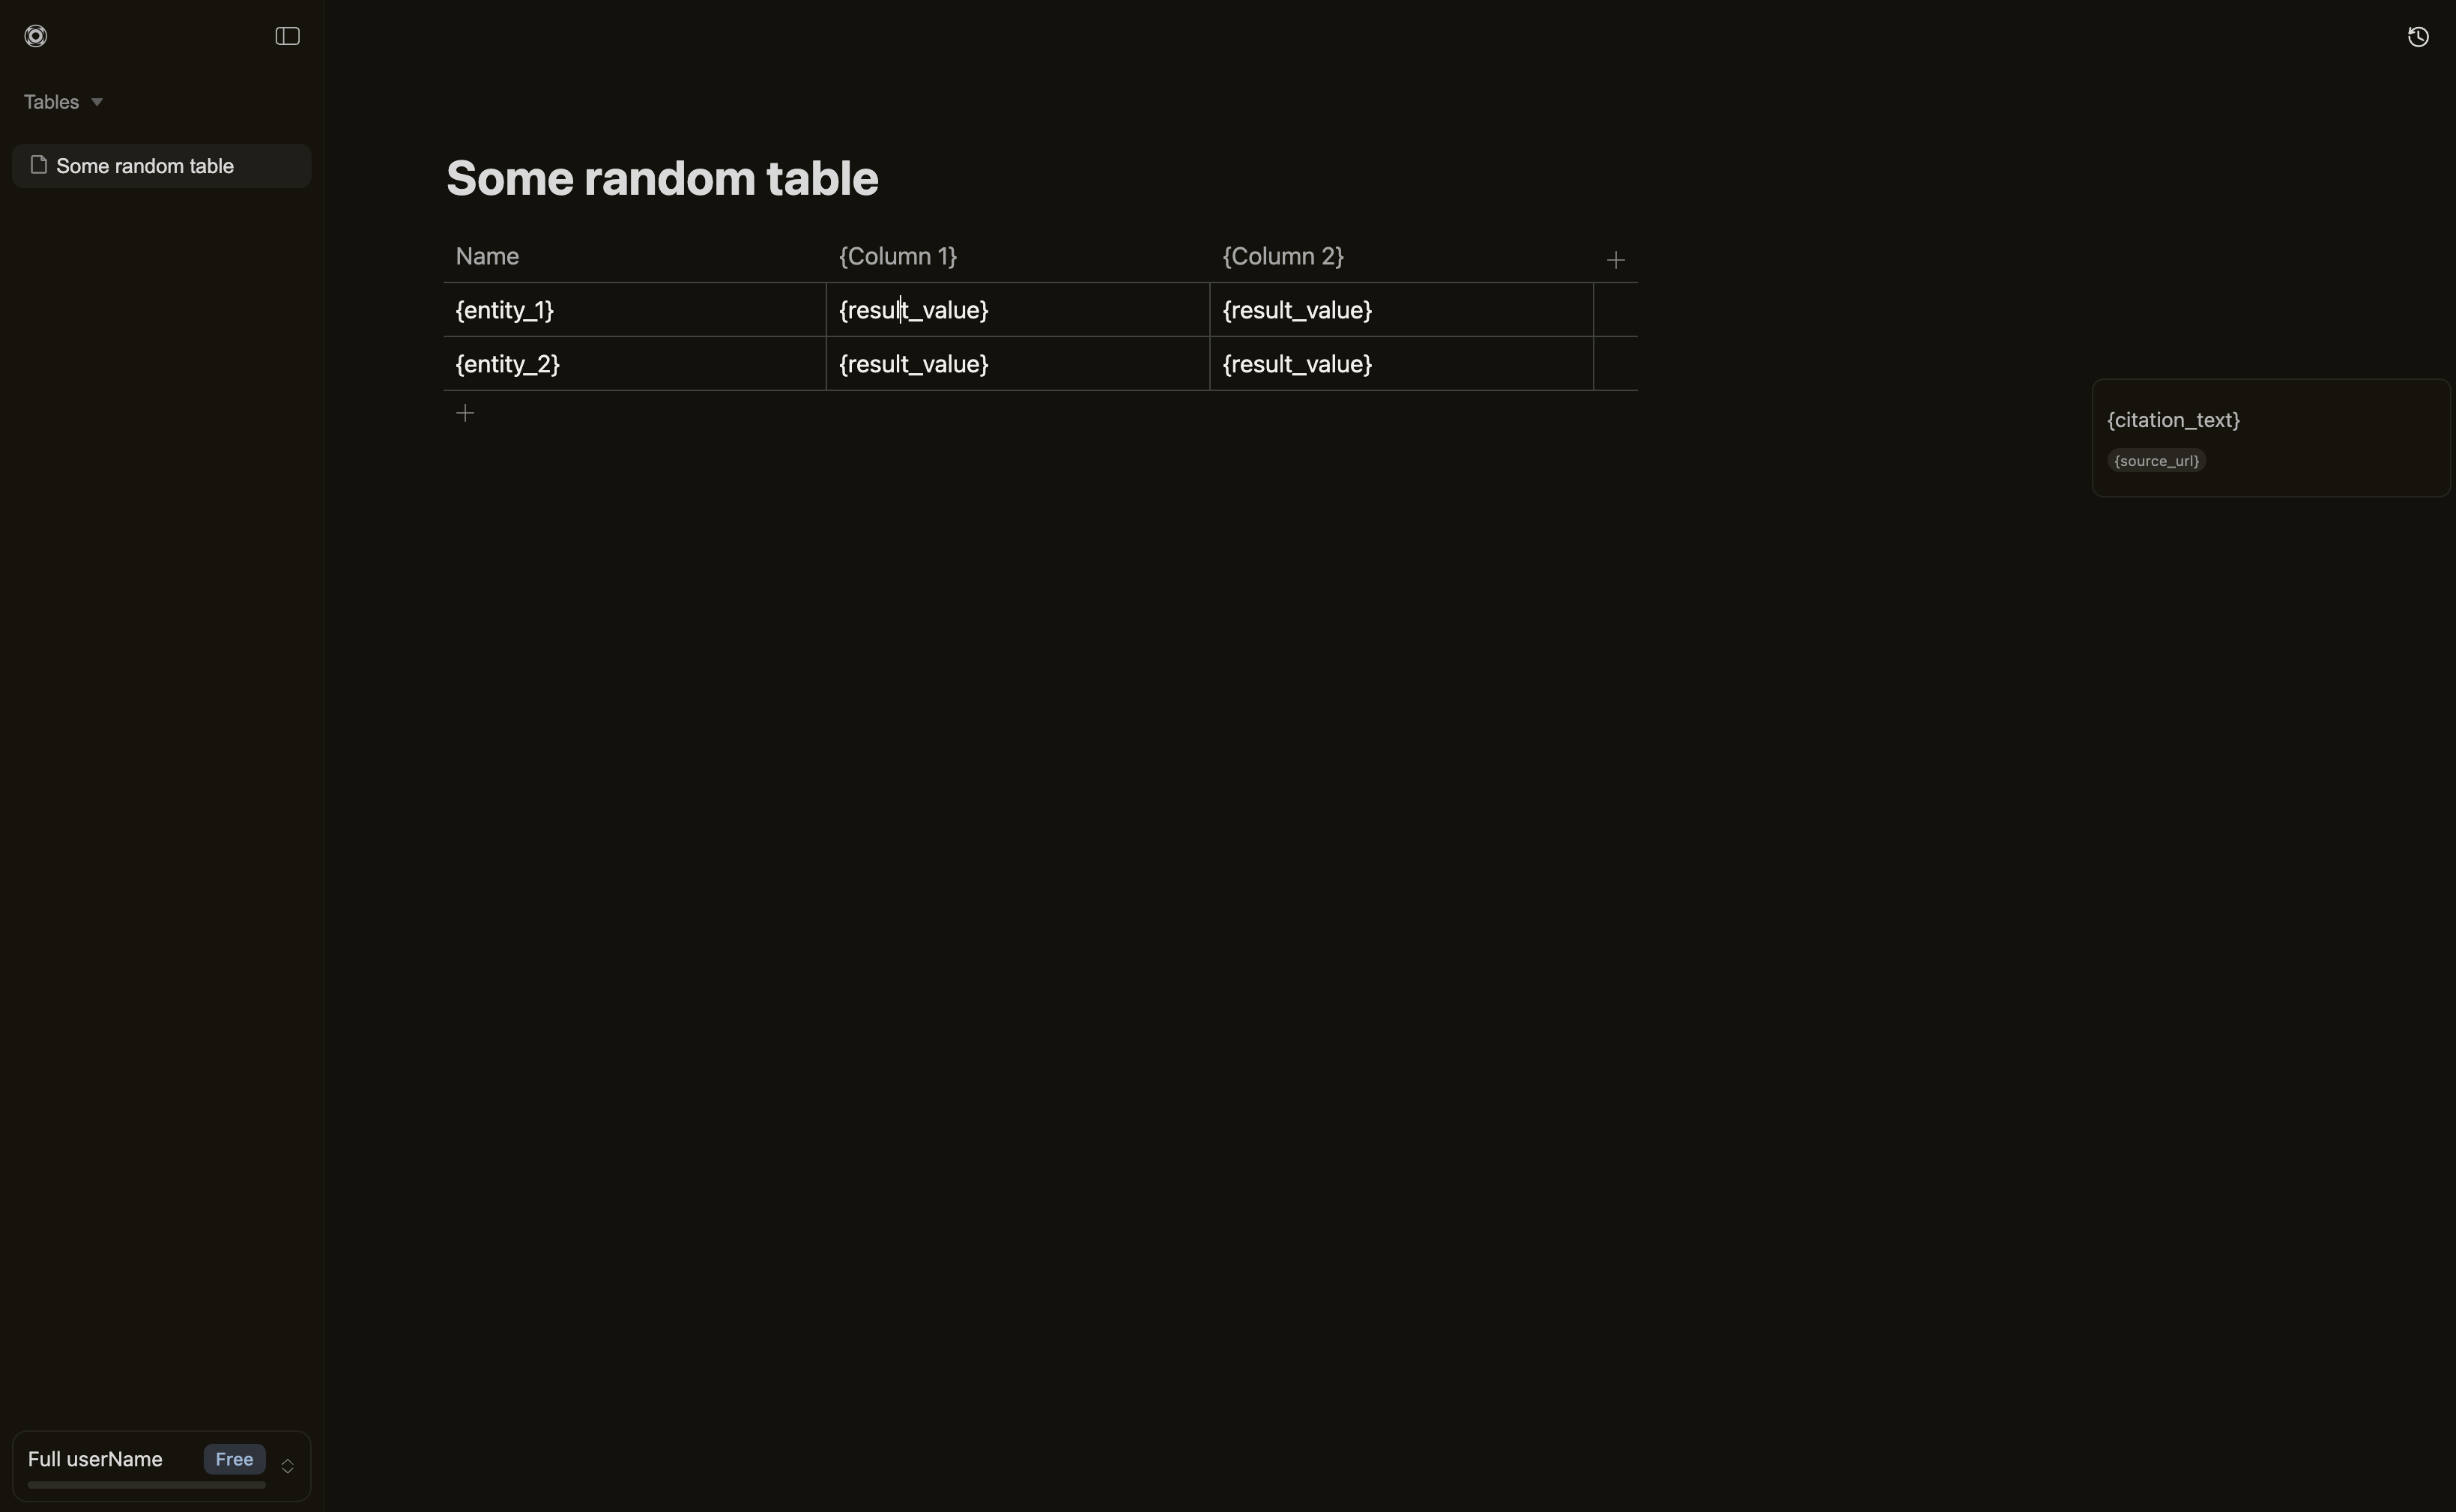
Once Blazar finishes researching, your table appears with:
* **Rows** for each entity found (e.g., individual companies)
* **Columns** for each field you requested (e.g., website, headquarters, employee count)
* **Citations** linked to every cell — click any cell to see its sources
### Step 2: Name your table
After creating a table, you'll see an editable title field at the top. Click it and type a descriptive name for your research — for example, "AI SaaS Companies in Europe."
Press **Enter** to confirm the name and move to the query input.
### Step 3: Enter your query
In the input field, describe what you want to research in plain language. Be specific about the entities you want, any constraints, and the data points you need extracted.
**Example query:**
```text theme={null}
Find 10 companies in AI SaaS based in Europe.
For each company, extract:
- Website
- Headquarters location
- Key products or services
- Founded year
- Employee count
- Contact email
- LinkedIn company page
```
Press `Cmd` + `Enter` (Mac) or `Ctrl` + `Enter` (Windows/Linux) to submit your query. Blazar will interpret it, research the web, and populate your table with structured results.
The more specific your query, the better your results. See [Writing effective queries](/concepts/queries) for tips and templates.
### Step 4: Review your results
Once Blazar finishes researching, your table appears with:
* **Rows** for each entity found (e.g., individual companies)
* **Columns** for each field you requested (e.g., website, headquarters, employee count)
* **Citations** linked to every cell — click any cell to see its sources
 ## Next steps
Learn how to manage multiple tables and organize your research.
Write better queries to get more precise results.
Understand how to verify and use cited sources.
Navigate between your tables with the sidebar.
## Next steps
Learn how to manage multiple tables and organize your research.
Write better queries to get more precise results.
Understand how to verify and use cited sources.
Navigate between your tables with the sidebar.